Installation in Monita
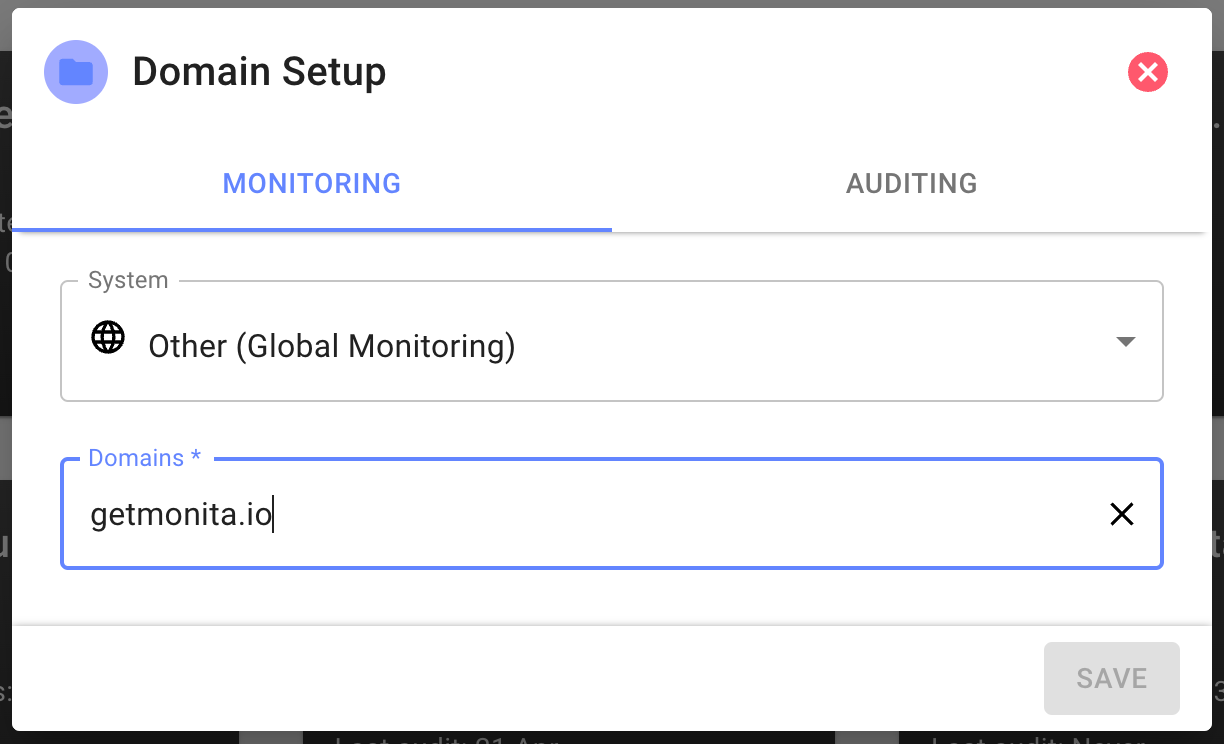
Domain Setup
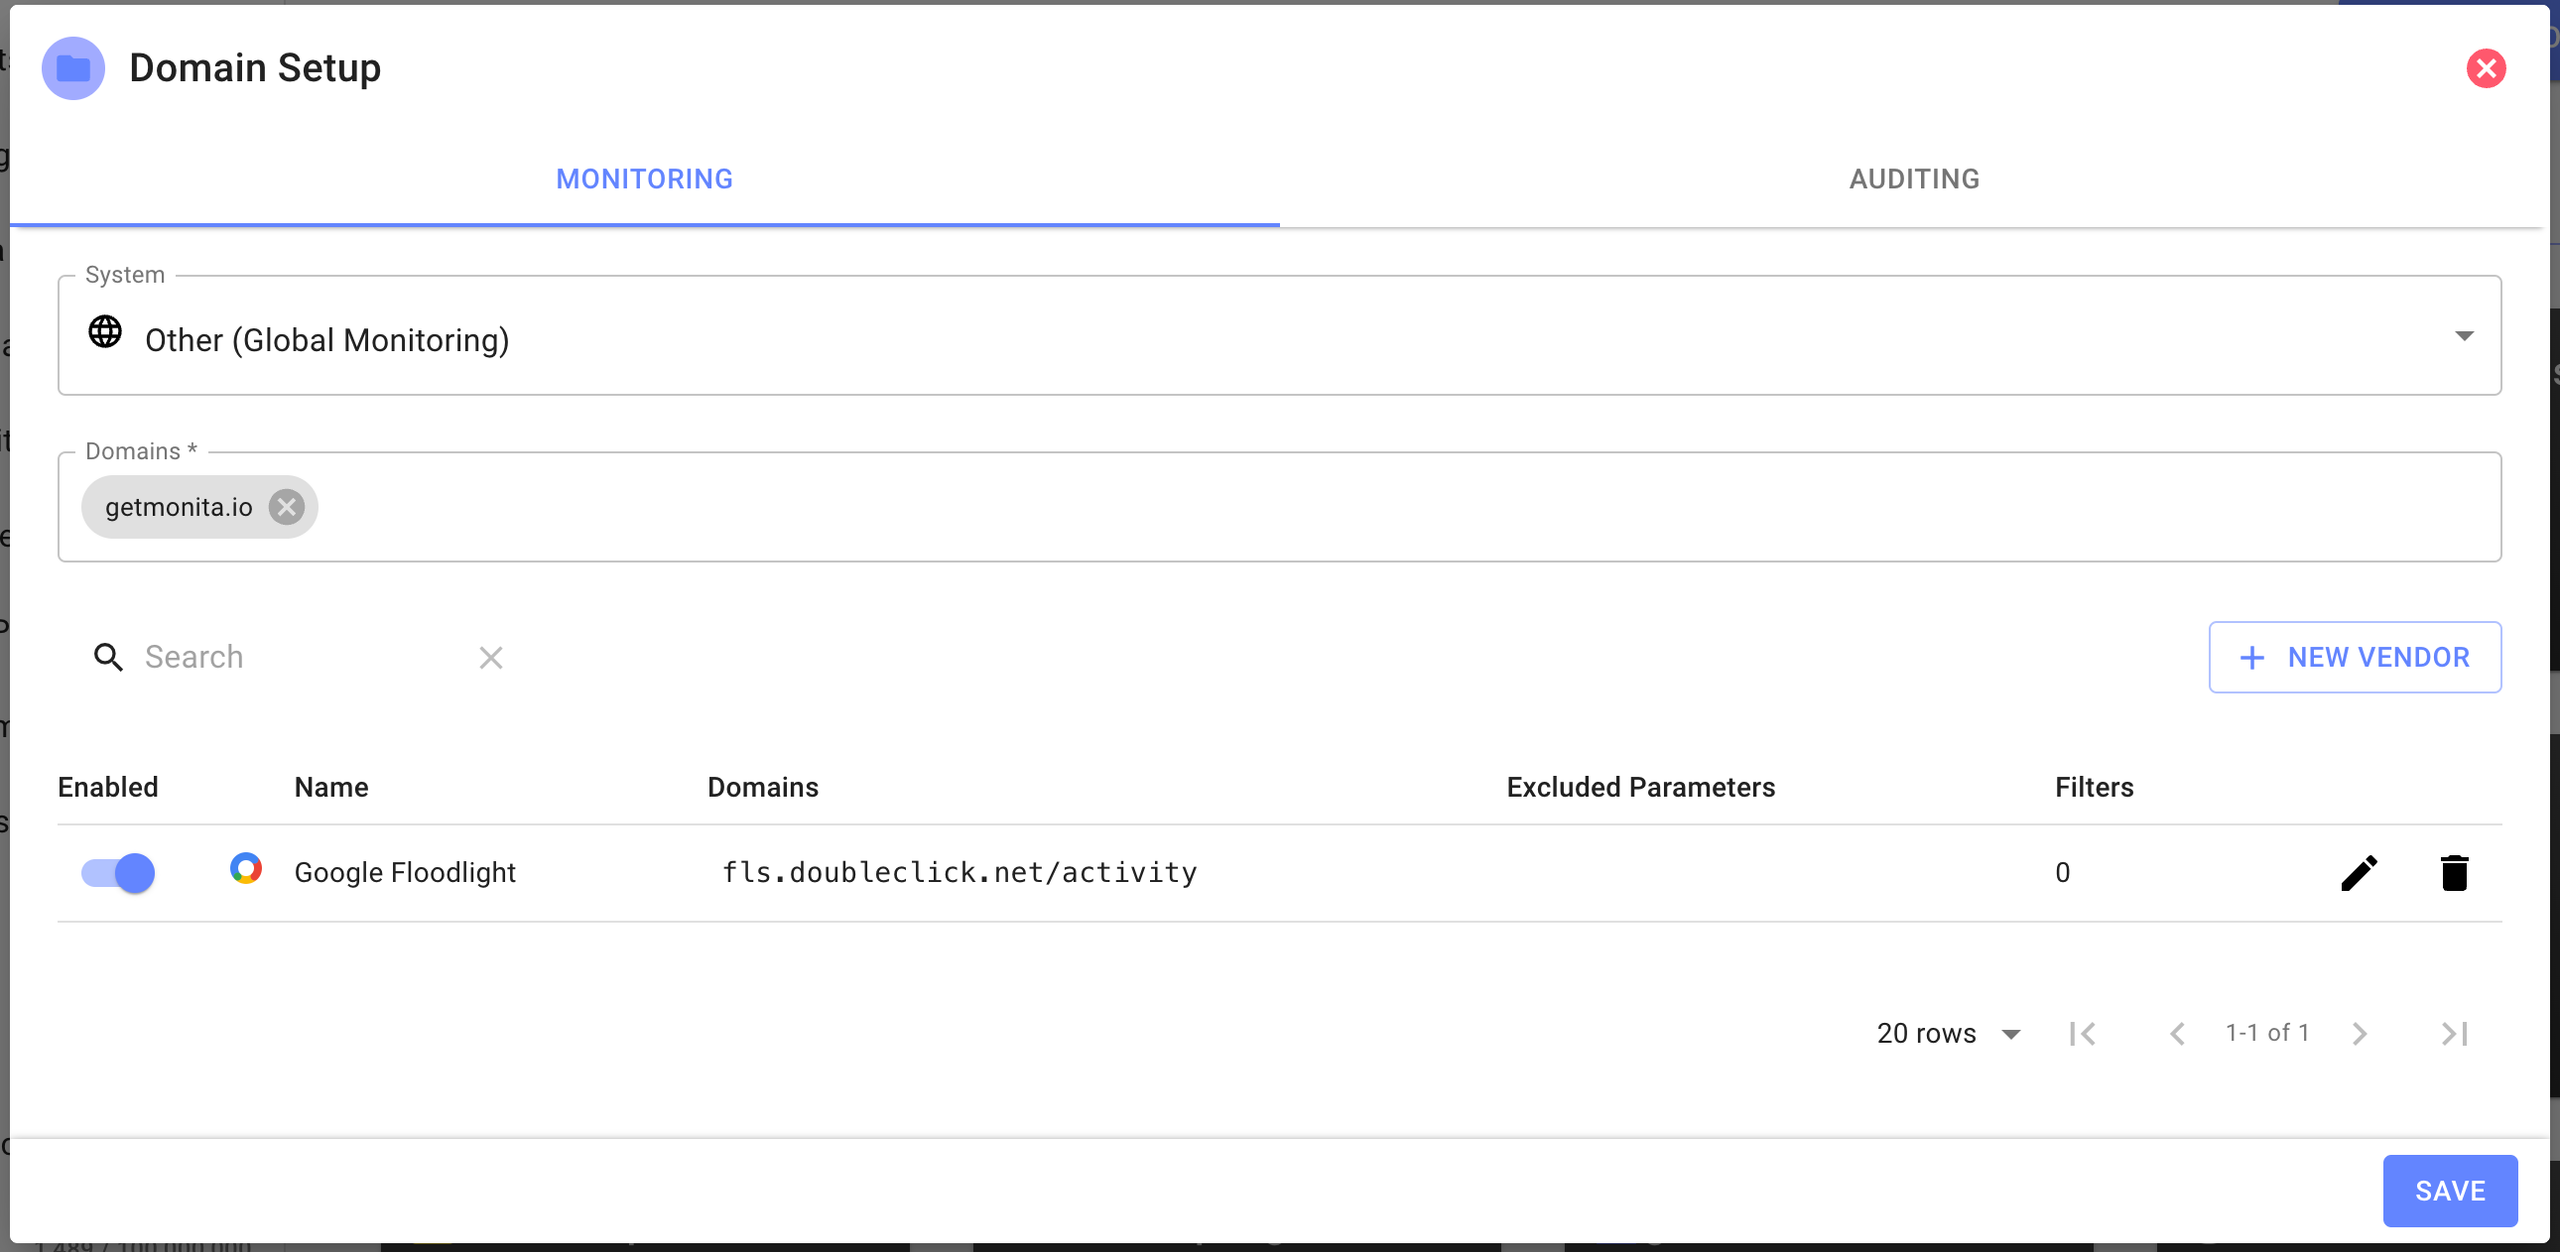
- Click ‘New Domain’ and your domain and select the Monitoring Tab
- Select Global Monitoring (Use Global if you would like to use the same Domain for both web/mobile/server)
- Next provide the Domain you wish to ingest events from and press enter.
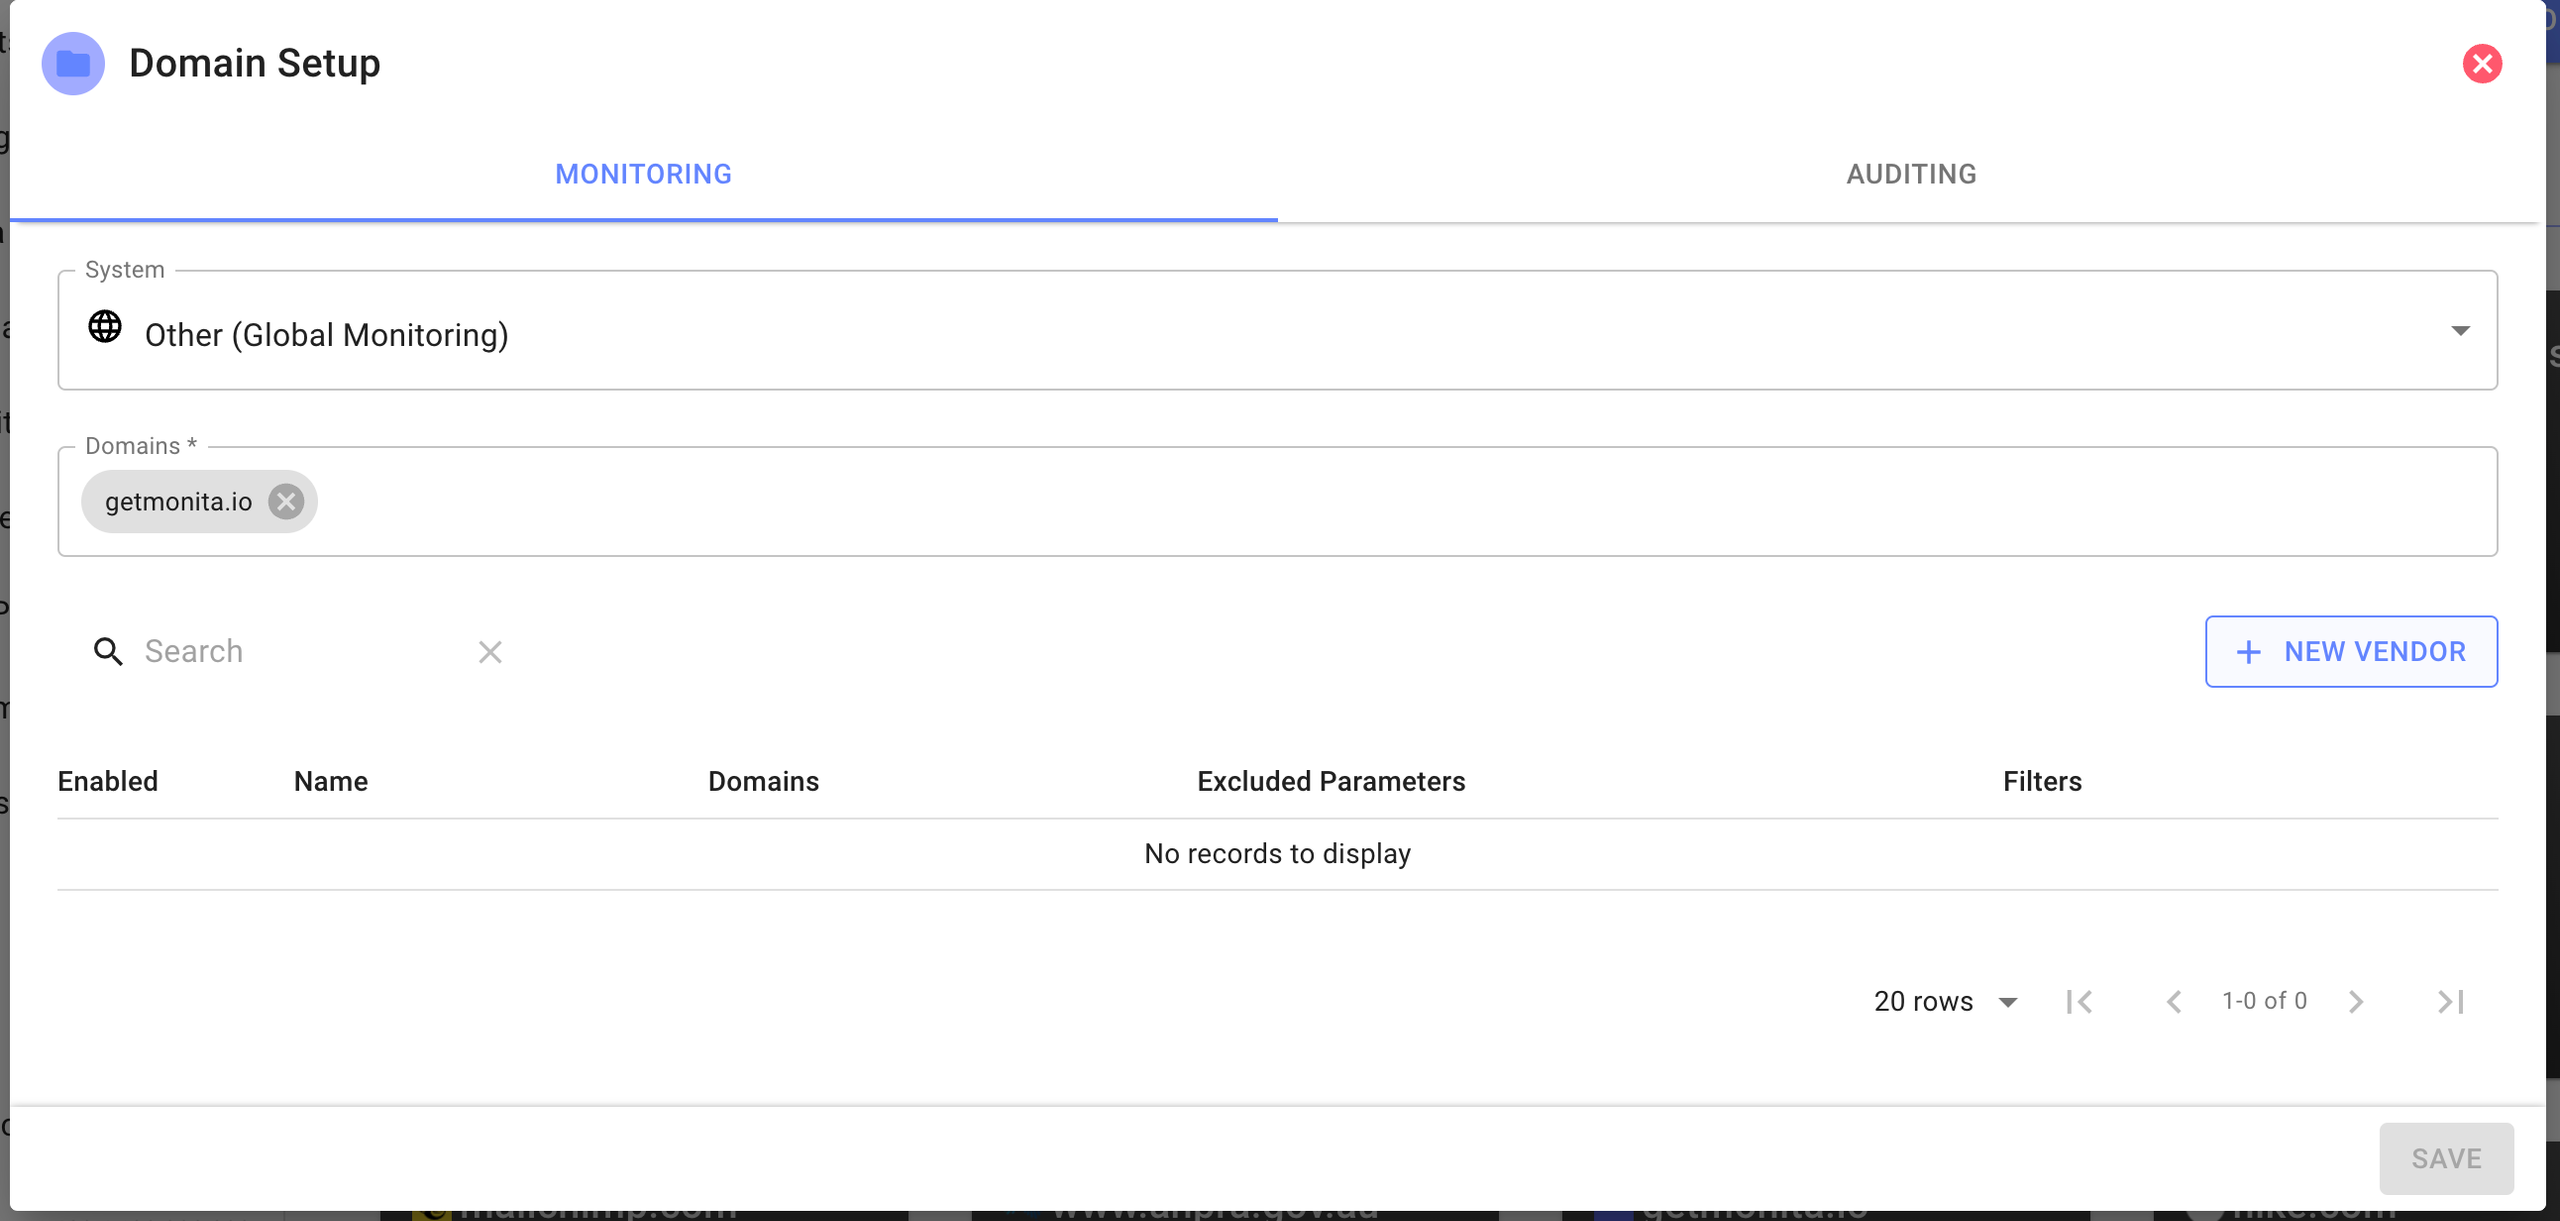
Vendor Setup
-
Start adding Vendors by Clicking new Vendor
-
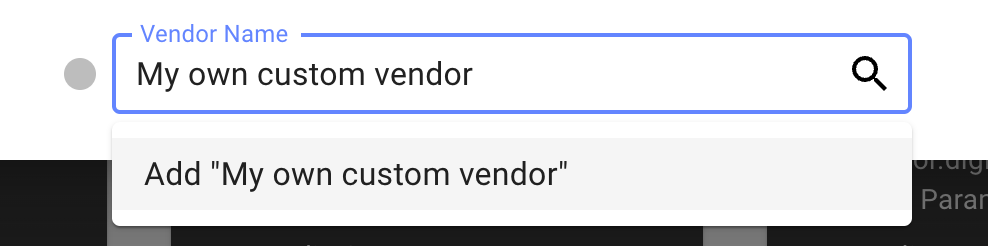
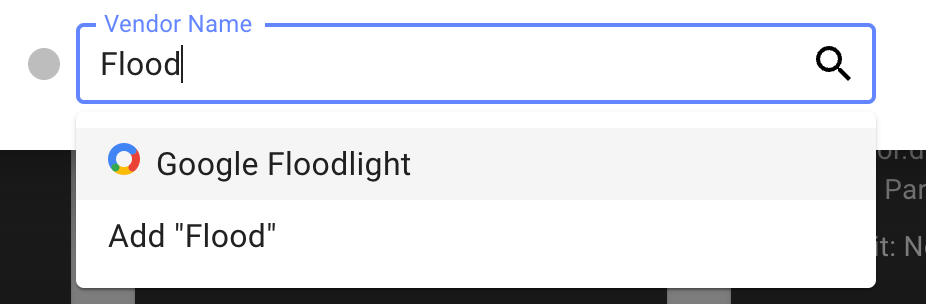
Search for an existing Vendor or create a Custom Vendor
-
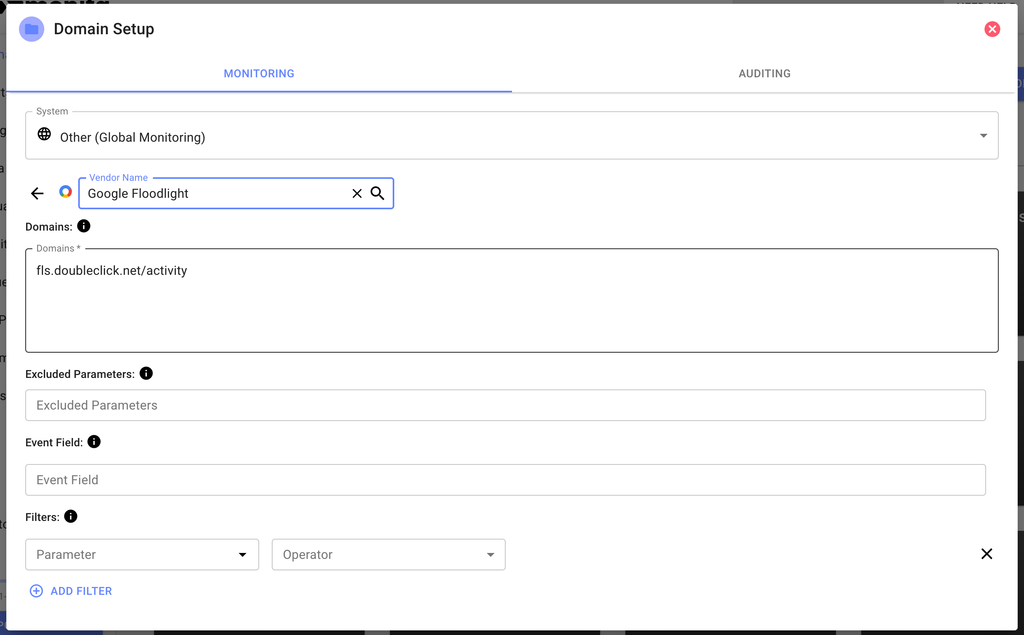
Fill in the Monitoring Form for the specific Vendor you have Chosen
Monita Collect switch
- Turn on the ‘Monita Collect’ switch
Monita Collect will enable a code button on the left of every vendor, when clicked shows you the names of Vendors, which you can then map in your API Call in the
vnparameter. Thevnparameter can take in any arbitray value, but it is recommended to use the exact spelling provided by Monita if you would like to see the logo appear in the platform visualisation dashboard.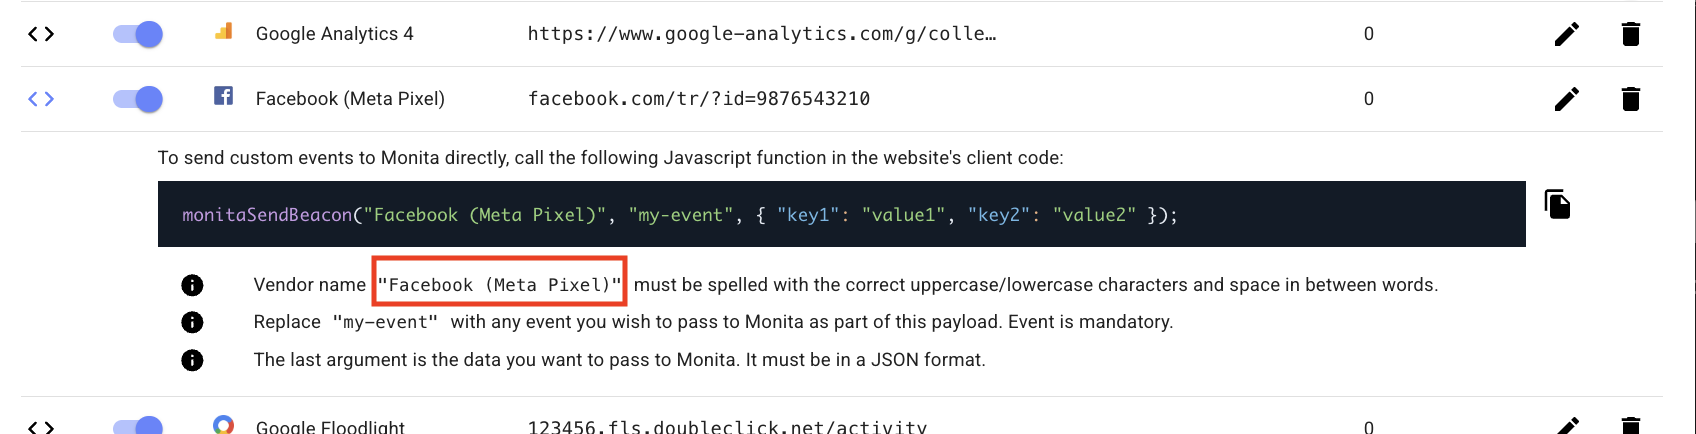
Getting your token
- Press the Save button, this will provide your token.
- Now that you have a token, you can use it to send events to Monita from your server.
Installation in your server side platform
Enter your server side platform (Adobe, Tealium, Segment etc)Select a generic HTTP/Webhook outbound event/action
-
Use the spec found on API Reference to craft a
POSTrequest to send events to Monita.This is where you should map an event name in theeparameter, any data inside thedtobject and the Vendor Name (from step 7) in thevnparameter. - Use the token provided to you to send arbitrary events to Monita.
-
Confirm in your platform’s logging that you are recieving
204responses from Monita. - Confirm in Monita that you are recieving events in the Visualisation Tab.